Delta - The History (Part 0)
The Beginnings
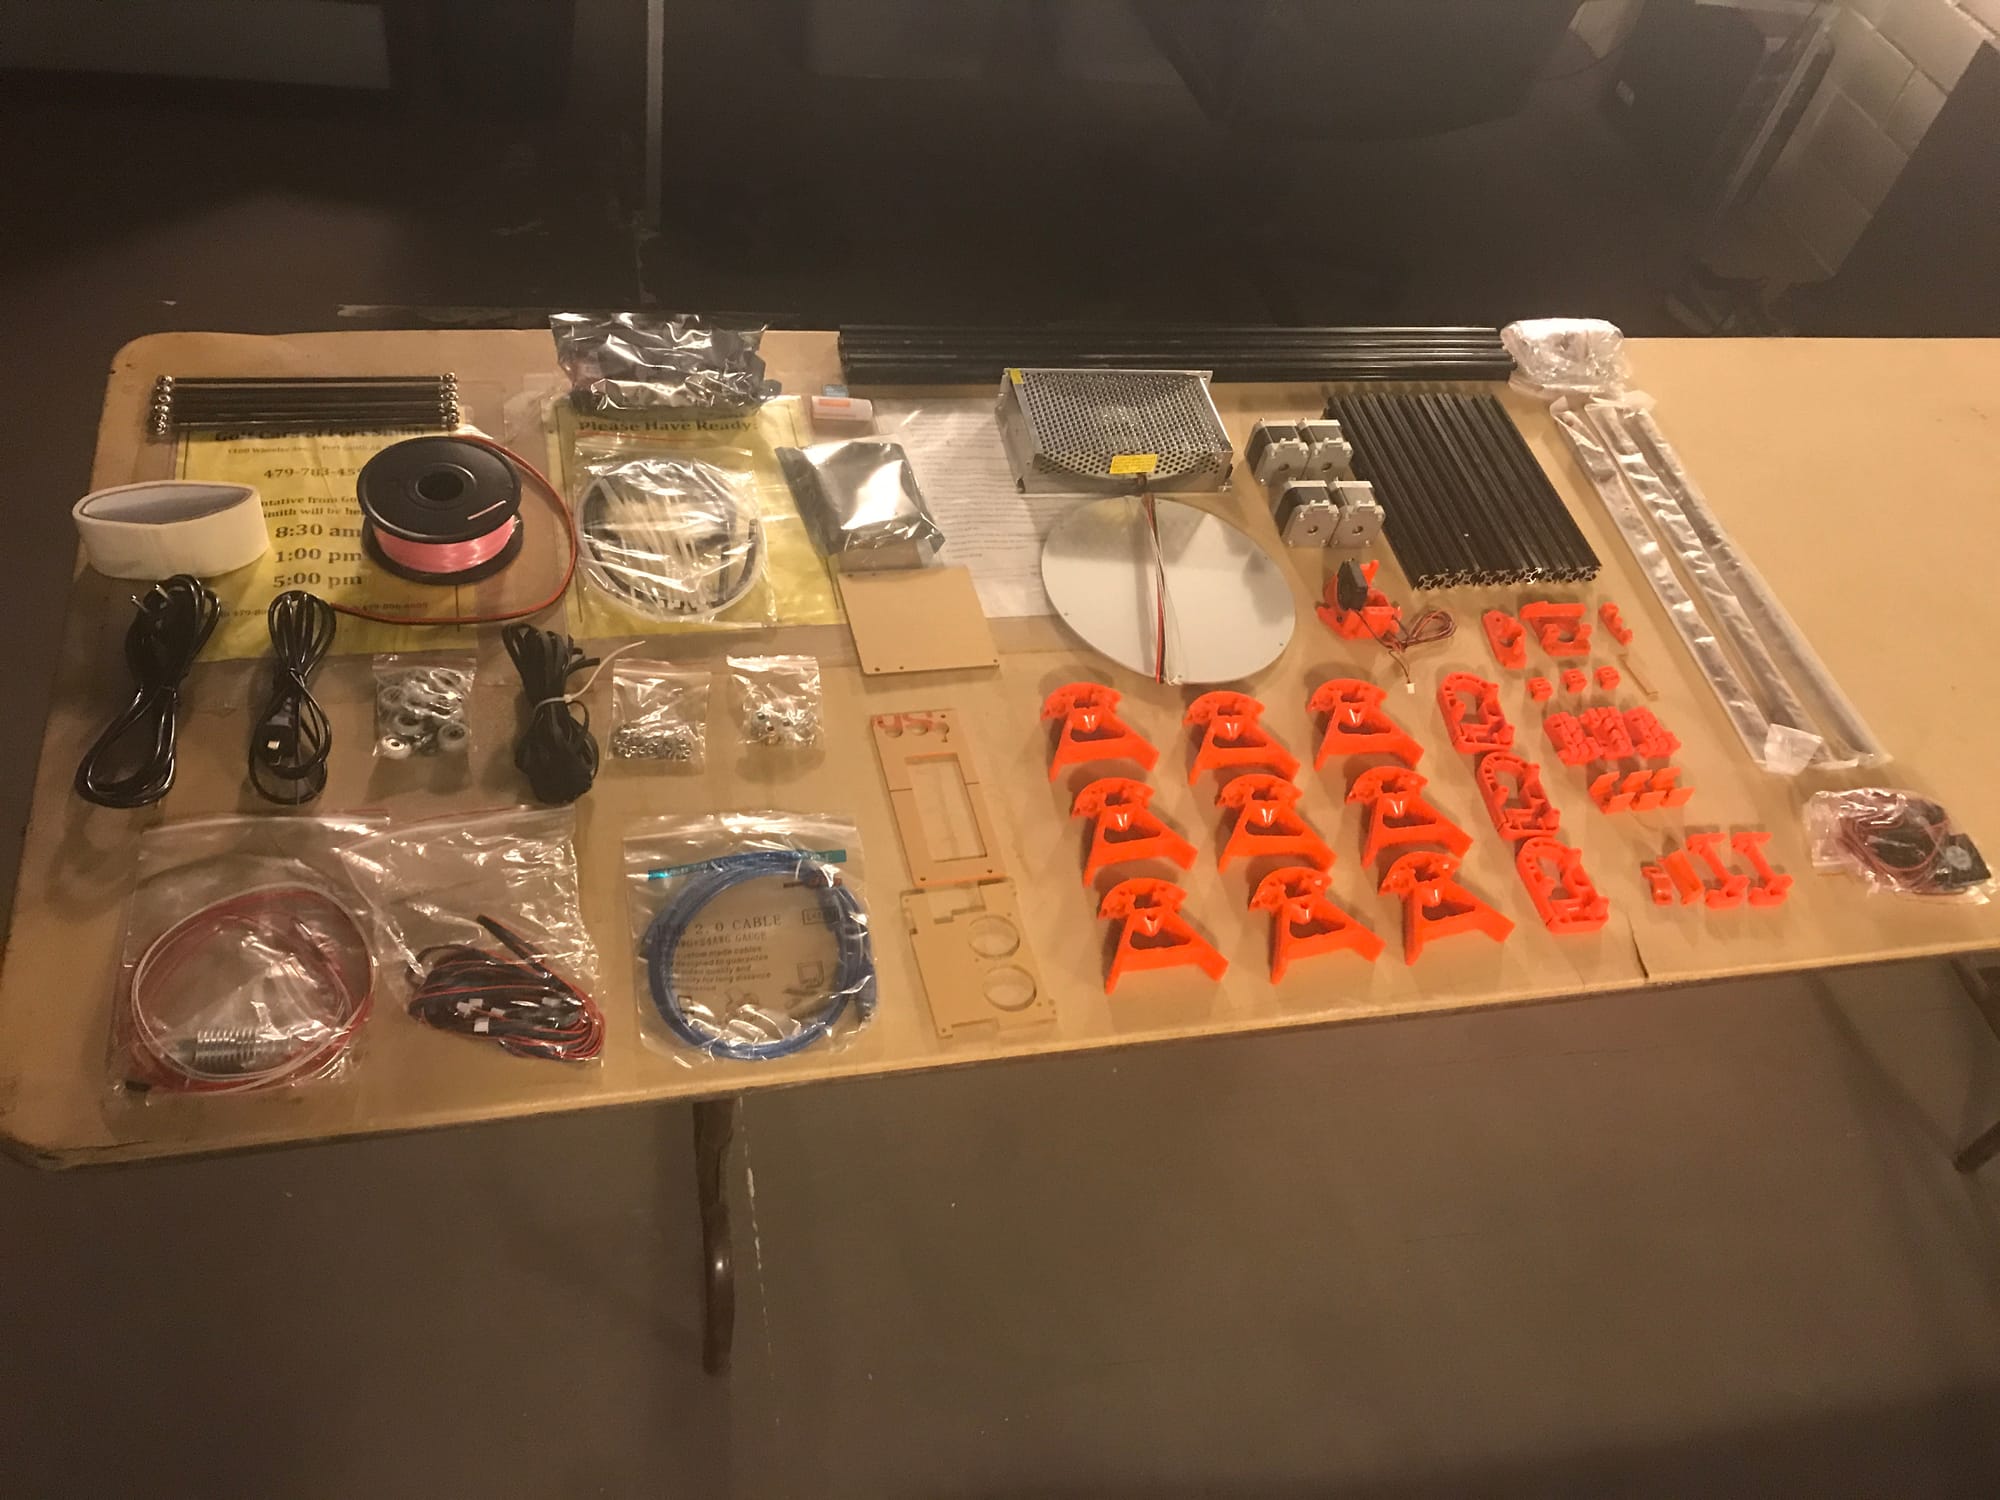
In June of 2017, just after having finished my undergrad in mechanical engineering, I bought my first 3D printer and started a journey that is still ongoing today. At a time when it was typical to start with a Prusa MK2 or a clone of it, I took a bit of a different route. Wanting something that was different (and looked way cooler) I settled on a FLSUN Kossel Delta kit that was available on Amazon.
Opening the box with what felt like a million pieces inside I felt like a kid on Christmas opening a box of Lego.
After a marathon day of assembly I officially had my first working 3D printer but little did I know putting the pieces together was just the start.
The instructions that came with the FLSUN recommended to use a specific version of Slic3r which in its day was probably a good start. However, as soon as I started to stray from the recommend profile provided with the printer I found that I was in for a very steep learning curve. As I started to tweak and adjust I started to battle the age old question of "is this a software or hardware problem?" This led to years of rabbit holes and "upgrades" that taught me a great deal (at the cost of my sanity).
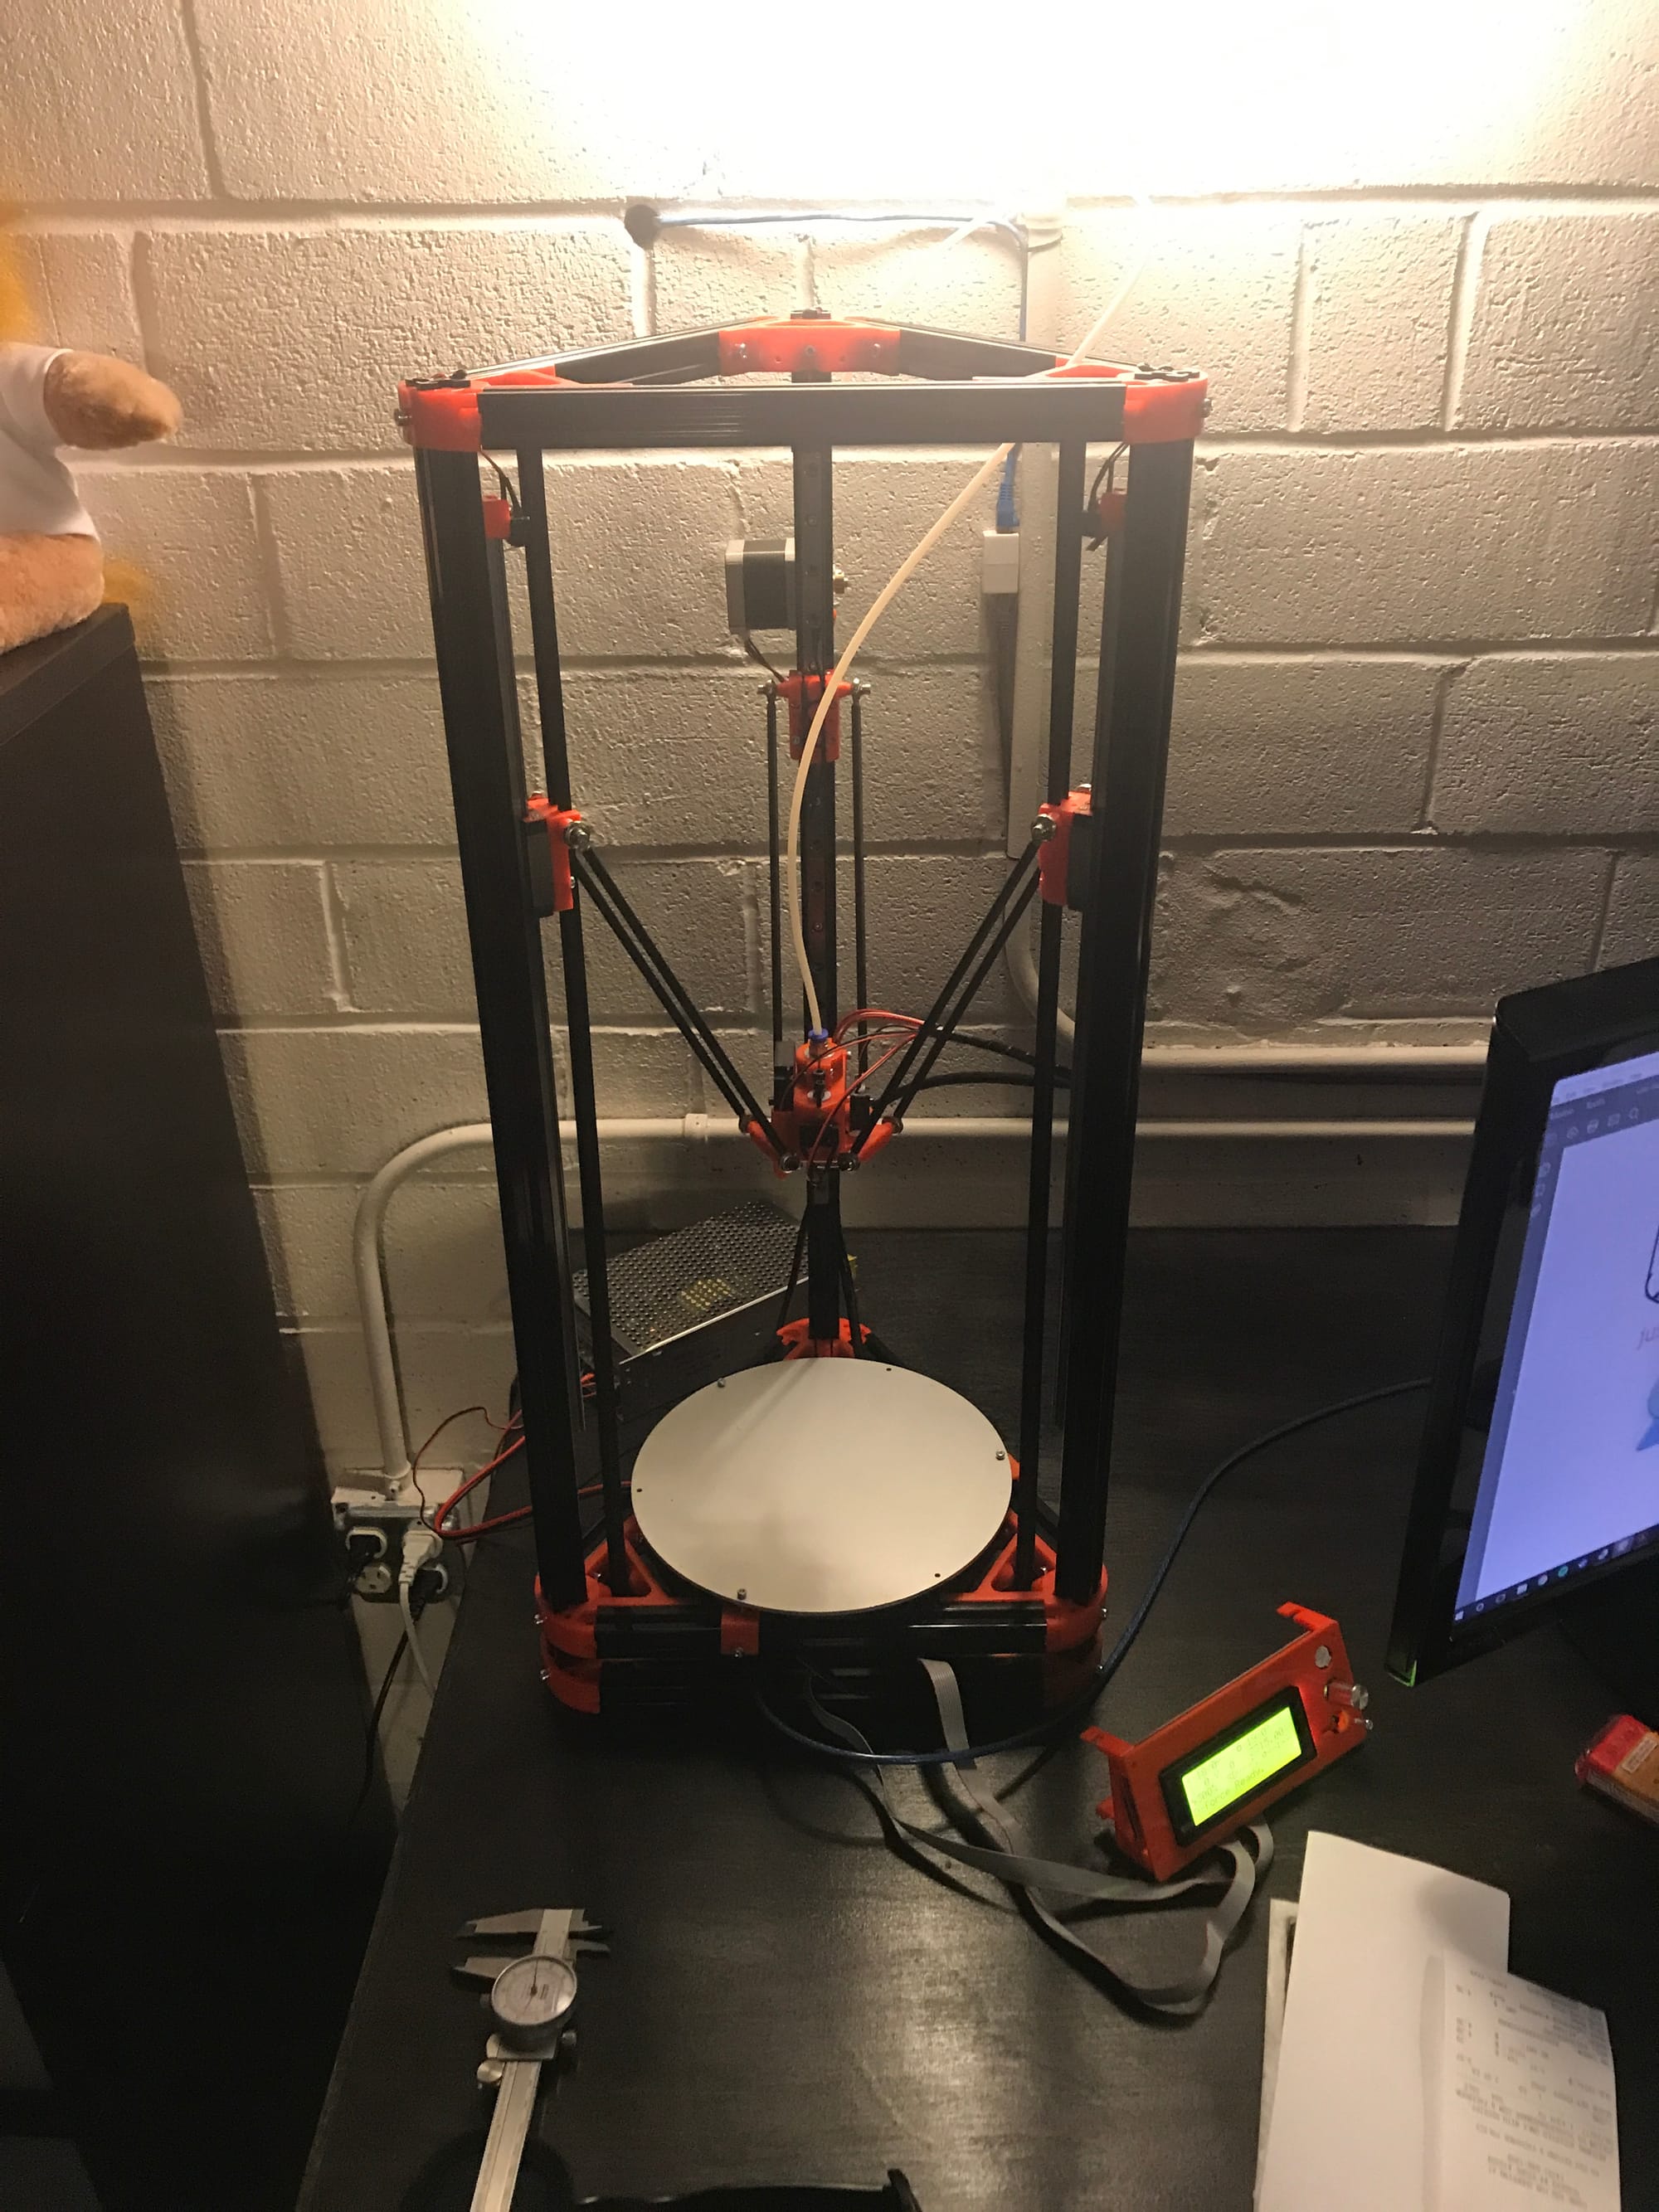
Over the years of tinkering the Delta quickly turned into a modern day Ship of Theseus. With just about every part getting its share of tweaks, improvements, upgrades, or replacement.
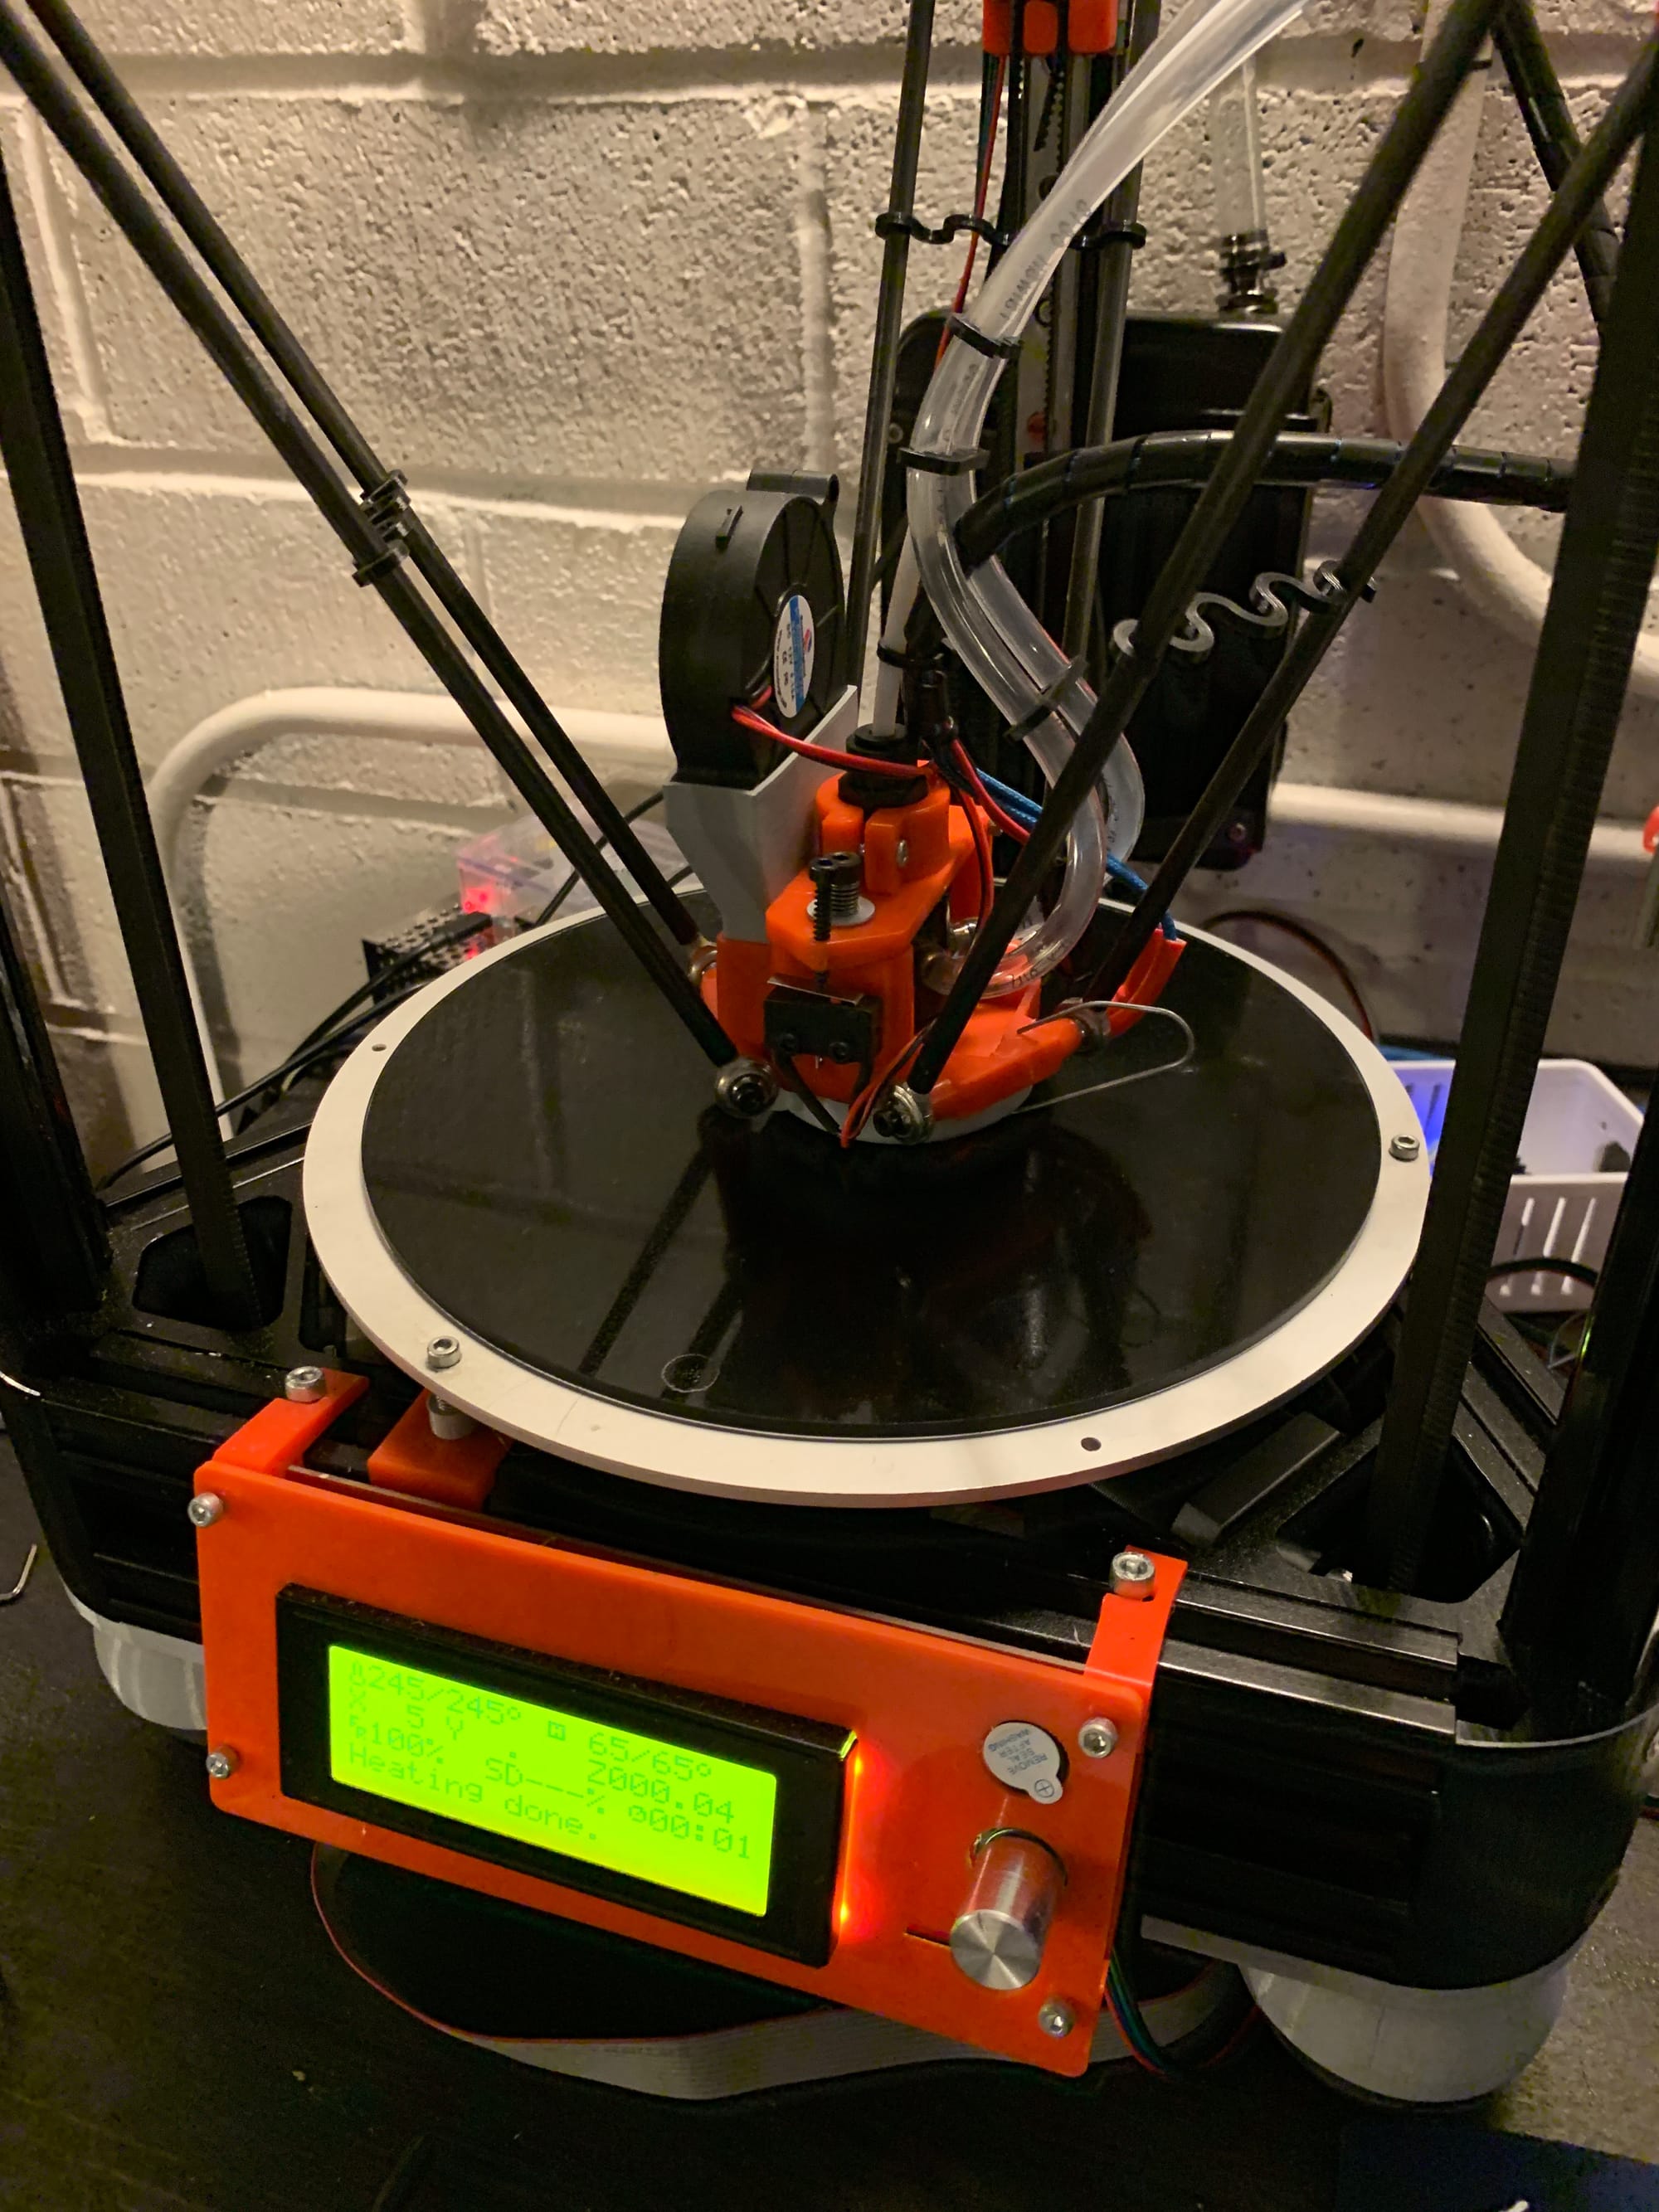
As is common in the world of 3D printing I start with part cooling. Upgrading from a weak 4010 radial fan to a more powerful 5015. The in turn came with adapters, ducts and brackets to get everything attached to the effector.

Then my attention shifted to the frame. I deemed the plastic corners of the frame as my next target and found some extruded aluminum corners online that were sure to up the rigidity of the frame. After a full tear down and rebuild another upgrade was complete.
At some point in this process I decided the hotend cooling fan was too loud and fount that there were water cooling heat sinks for the E3D hotends online. So naturally I had to pick one up and water cool the printer for the first time (no foreshadowing here).
Somewhere during this time I damaged the PTFE tube in the provided E3D V6 clone heat break provided with the kit. So this seemed like the perfect opportunity to upgrade to a E3D Volcano. I had a delta so I figured I should be able to print fast and needed the flow rate to do it.
Well the 8-bit board that came with the kit wasn't going to be enough to do that. So in with the next major round of updates. After digging around I settled on the Duet 2 WiFi. This was a 32 bit board with a great community, tons of features, and the kicker, compatibility with the Duet Smart Effector. However, to use the smart effector I was going to need to new diagonal rods. So I ended up going with Haydn Huntley's magnetic carbon rods which were incredibly well made and accurate.
One of the biggest things holding me back on improving the mechanics of the printer was the limited build volume of the printer itself. At a diameter of 180mm, there just wasn't many large mechanical parts that could fit on the build pate.
This brought the printer up to be a pretty performant machine but the slicer tuning was holding me back. This led to a lot of frustration from poor quality and failed prints. As life got busier and career changes were made, the delta got to travel along with me but it was getting used less and less. Ultimately, the delta ended up on the shelf collecting dust.
The Transition
Late last year I purchased a Bambu Lab P1S & AMS combo during their Black Friday sale. This reignited my passion and fascination with 3D printing as a method of manufacturing and producing custom parts. After a couple months of a honeymoon phase I started to run out of small parts and projects to use the P1S for. That's when I looked on the top shelf and realized I could rebuild the delta to achieve it's full potential.
In a previous role, I was a Mechanical Design Engineer / Product Support manager at Pensa Labs, maker of the D.I.Wire. A CNC wire forming machine used in all kinds of applications in medical, aerospace, and education. During my time there I was fortunate to gain a wealth of knowledge in desktop CNC machine design and programming. This gave me a lot of confidence heading into this project that I actually may be able to succeed this time.
As I was starting to kick around the idea of starting on this project, I began research and create a list of every feature that I felt needed specific attention to be the best it could be. This list included not only mechanical or electrical subsystems but also quality of life improvements that I had gotten used to from the P1s.
Over the next few post I am going to document the ground-up rebuild and redesign of this printer. This will include the hardware, the software, and final results.